
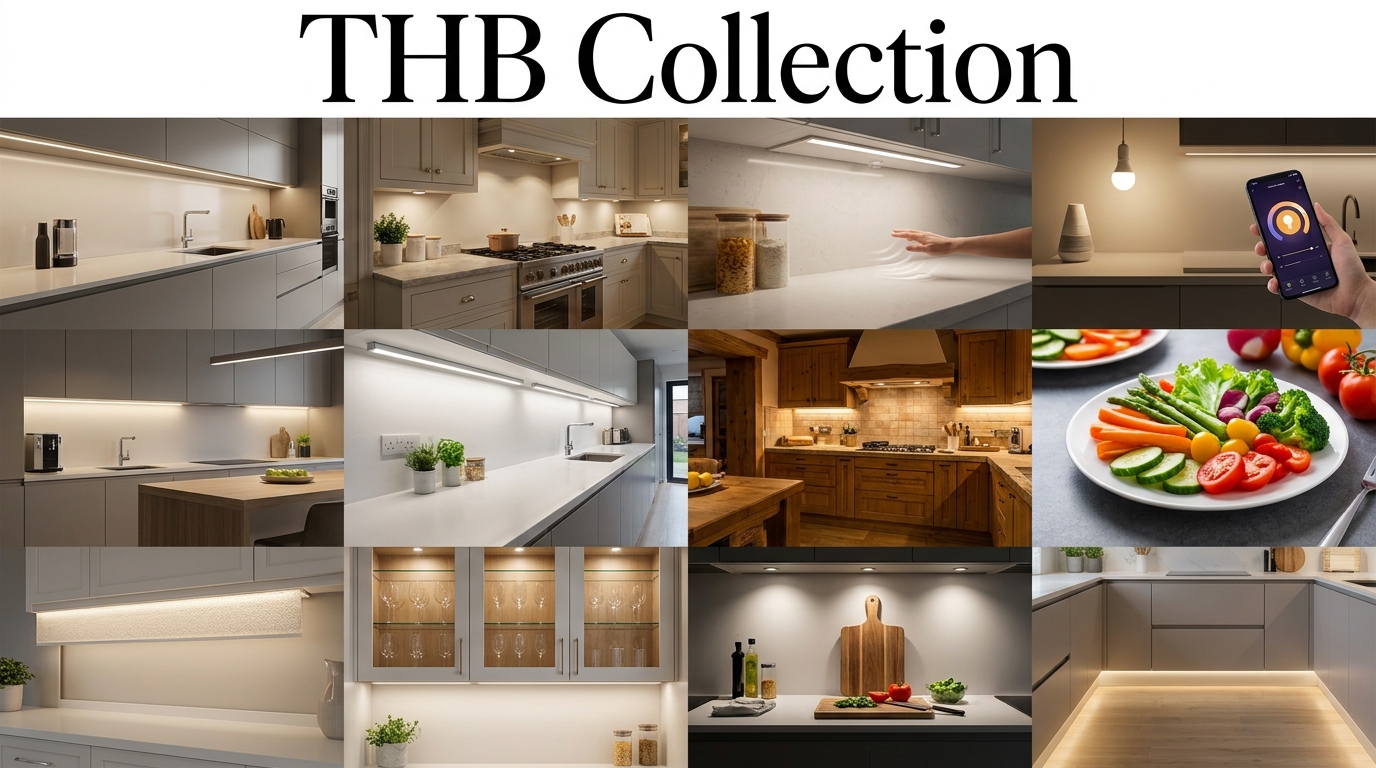
Trying to chop vegetables or read a small recipe card under the shadow of your upper cabinets is a daily kitchen frustration that standard overhead ceiling lights simply cannot fix. When your body blocks the main central light fixture in the room, your countertops become dark, gloomy workspaces that make meal preparation feel stressful and fatiguing to your eyes. Implementing these 20 under-cabinet & task lighting ideas will instantly brighten your functional prep zones, eliminate harsh shadows, and give your culinary space a customized, high-end look without requiring a massive remodeling budget. By exploring reliable interior decorating guidance, you can discover practical ways to layer your illumination so your kitchen functions flawlessly from early morning breakfasts right through late-night snacks.
The real secret to successful task lighting is realizing that a kitchen requires multiple tiers of illumination to accommodate both rigorous cooking chores and relaxed evening socializing. While decorative pendants and recessed ceiling cans provide general ambient light, directional task fixtures focus intense, bright beams directly onto your cutting boards, sinks, and stoves right where your hands are working. When you combine concealed under-cabinet strips with smart dimmers and warm color temperatures, your kitchen transforms into an inviting, multi-dimensional gathering place. Whether you own your home and want to hardwire permanent fixtures or rent an apartment that requires damage-free wireless solutions, these detailed lighting strategies will help you design a safer, more beautiful kitchen environment.
1. Install Continuous LED Light Strips for Even Illumination
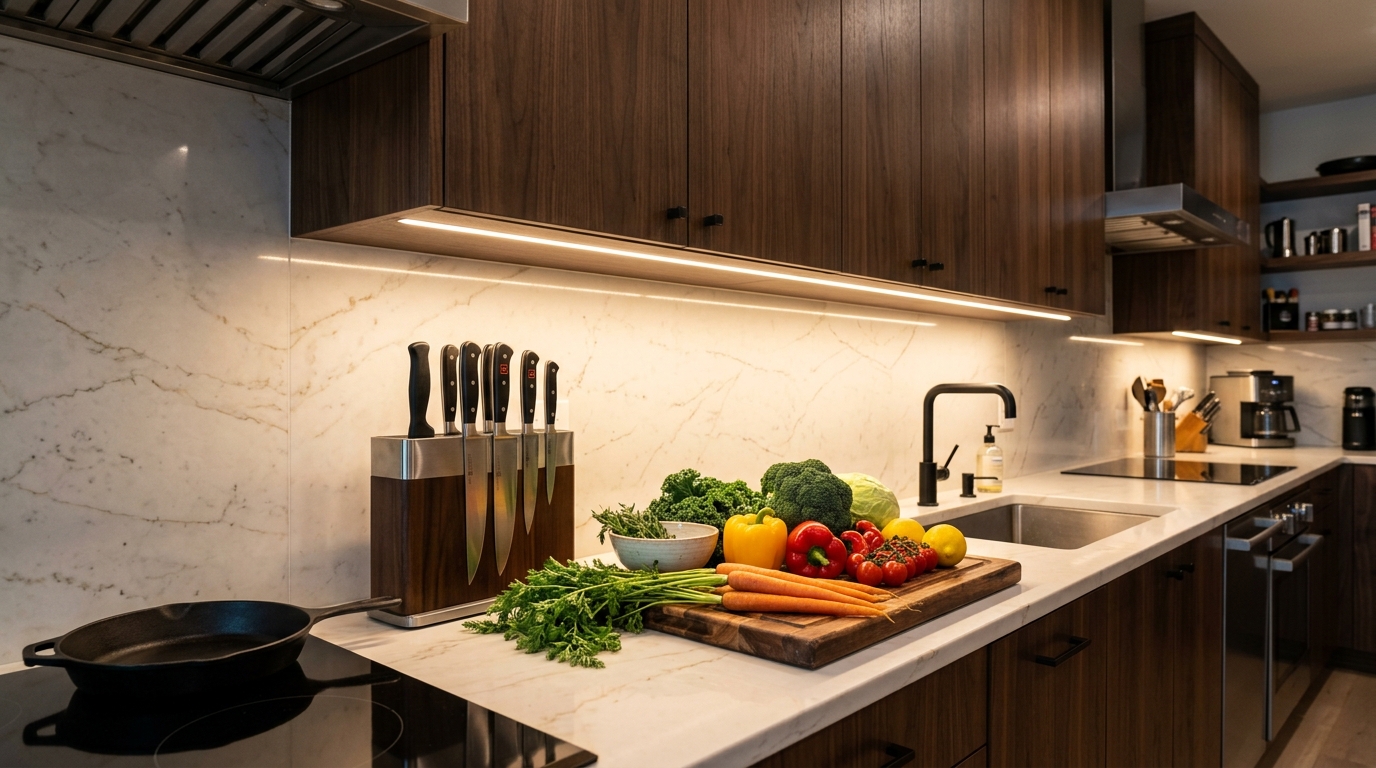
One of the most effective ways to illuminate long stretches of countertop is installing continuous LED tape light strips directly underneath your upper wall cabinets. Unlike individual round puck lights that can create distracting bright spots and dark pools of shadow across your counters, linear LED strips distribute a smooth, even wash of light across the entire working surface. These flexible ribbons feature adhesive backing that attaches firmly to the underside of wooden cabinets, making them virtually invisible when standing in the middle of the room. Look for high-density strips with at least 18 to 24 LEDs per foot to ensure the light appears as a solid, continuous beam rather than a dotted line of individual bulbs, giving your kitchen a streamlined, professional finish.
2. Utilize Wireless Battery-Operated Puck Lights for Easy DIY
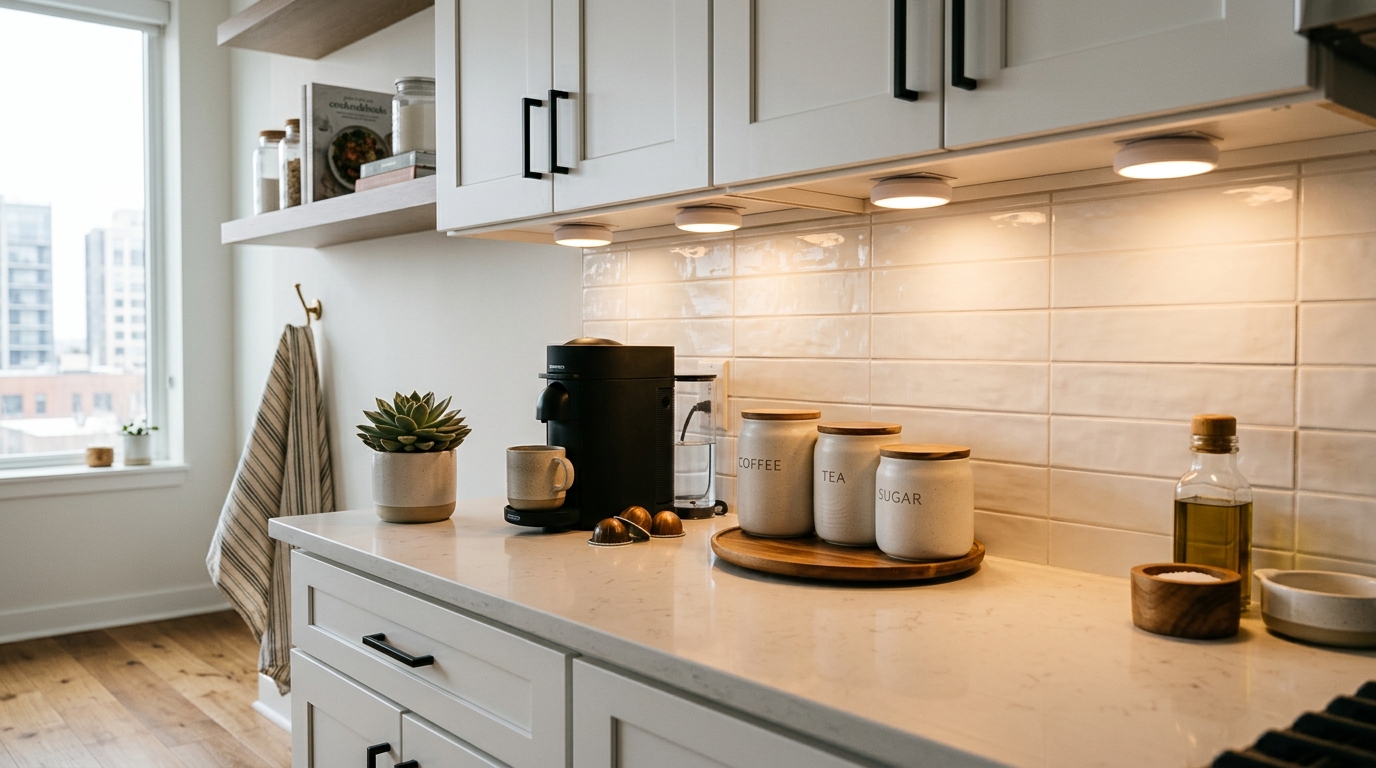
If you live in a rental apartment or simply want to avoid the cost and mess of hiring an electrician to cut into your drywall, wireless battery-operated puck lights are a fantastic alternative. Modern LED puck lights attach to the underside of cabinetry using simple double-sided mounting tape or magnetic base plates, allowing you to install a complete lighting scheme in under thirty minutes. Many upgraded models now feature remote controls and customizable timers that let you adjust brightness levels from across the room without having to reach under the cabinets. Drawing inspiration from simple budget-friendly room upgrades, these wireless fixtures prove that you can achieve a sophisticated, layered glow without spending a fortune on hardwired electrical work.
3. Add Motion-Sensor Fixtures for Hands-Free Convenience
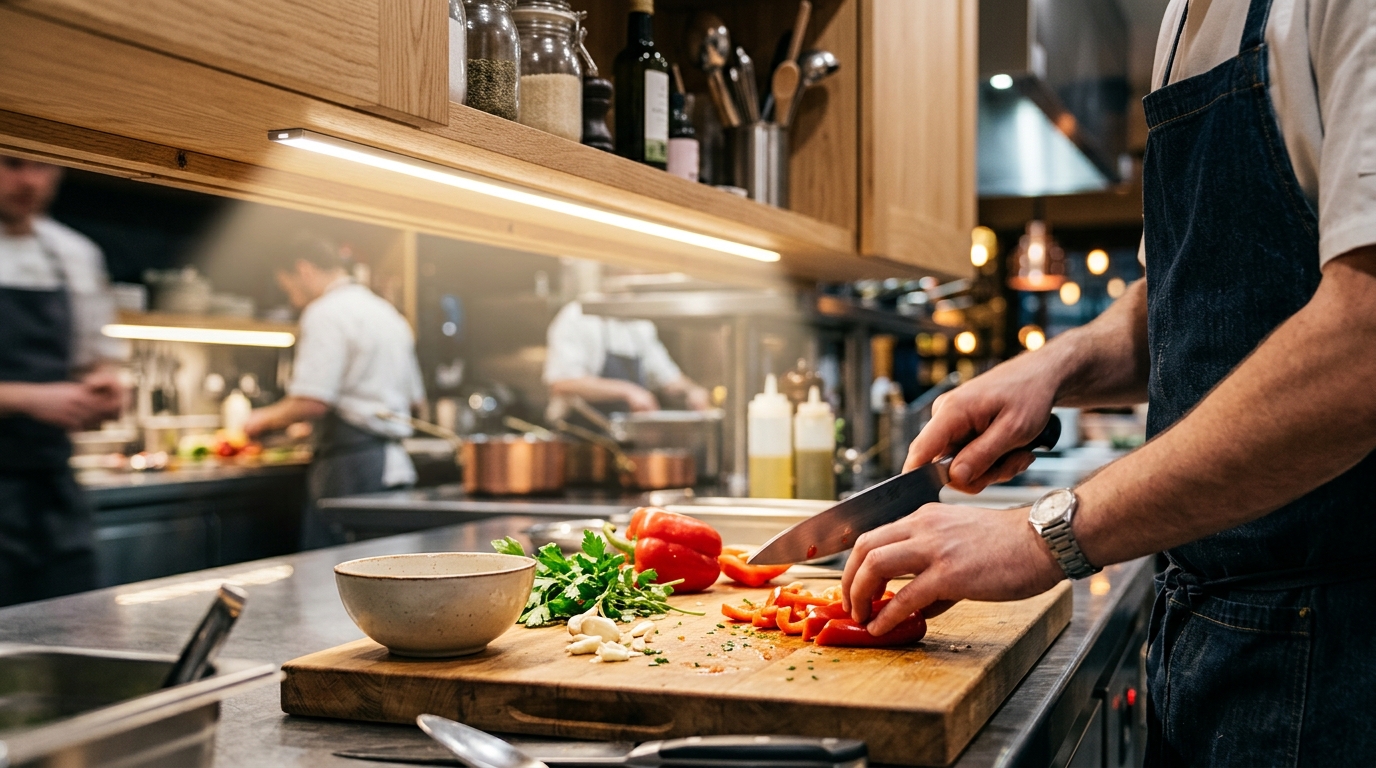
When your hands are covered in raw chicken marinade or flour from baking bread, reaching up to flip a standard toggle switch under your cabinets is the last thing you want to do. Incorporating motion-sensor task lights under your primary food preparation zones adds incredible hands-free convenience and hygiene to your daily cooking routine. These smart fixtures automatically turn on the moment they detect physical movement within three to five feet of the counter, providing instant task lighting right when you step up to the cutting board. Once you walk away from the area, the built-in sensor turns the fixture off after a short delay, saving electricity and ensuring your kitchen always responds intuitively to your family’s movements.
4. Choose Smart Dimmable Bulbs for Adjustable Evening Moods
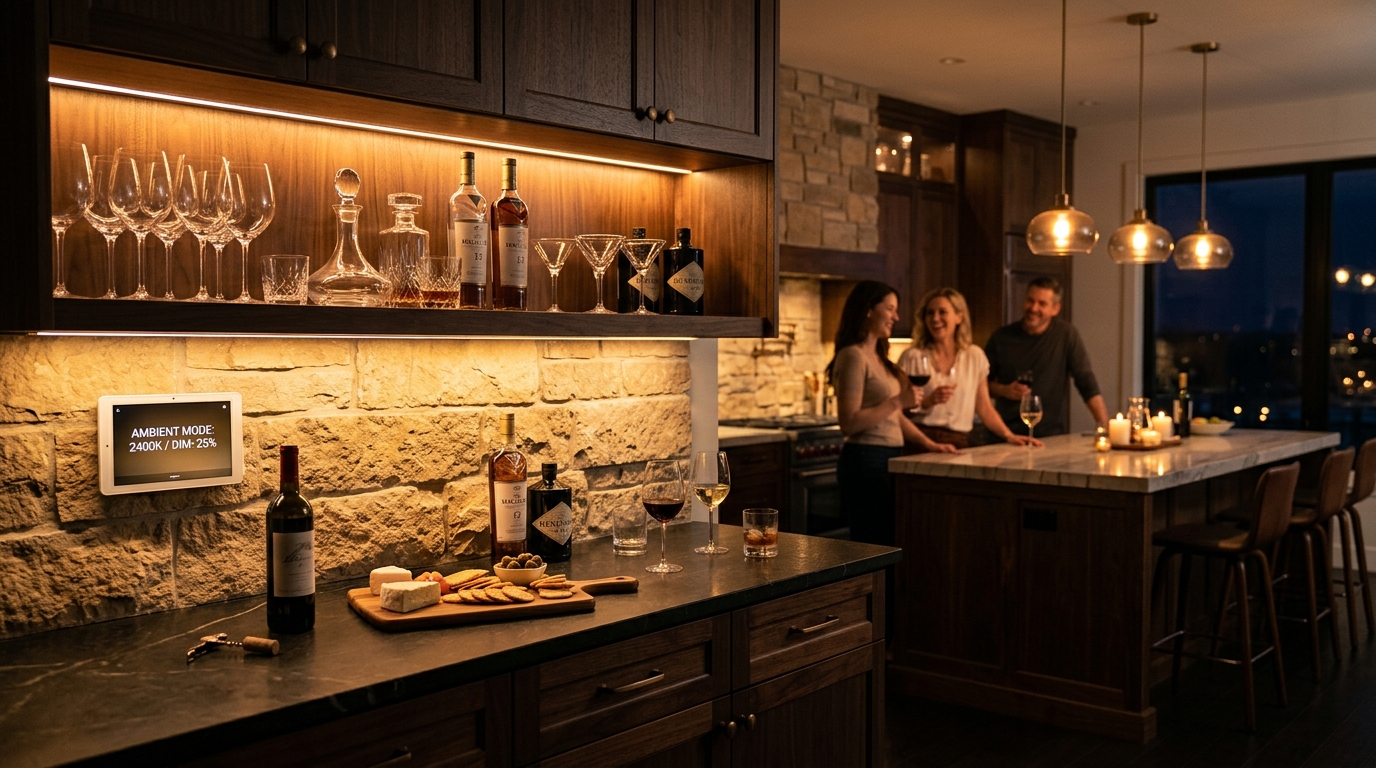
Your kitchen lighting should never be stuck at one single, blinding level of brightness all day and night. Installing smart dimmable under-cabinet fixtures gives you complete control over your lighting atmosphere, allowing you to shift from bright, energizing task illumination during dinner prep to a soft, atmospheric glow when hosting friends for evening drinks. Connect your fixtures to a compatible smart home hub or a simple wall dimmer switch so you can slide the intensity down as the night winds down. Having adjustable light levels prevents eye strain during late-night trips to the refrigerator while helping your kitchen feel like a cozy, relaxing extension of your living room.
Tip: When shopping for dimmable LED fixtures, always verify that your LED driver and wall switch are explicitly rated as compatible, as mismatched components can cause irritating flickering and buzzing noises.
5. Mount Hardwired Linear Light Bars for Seamless Integration
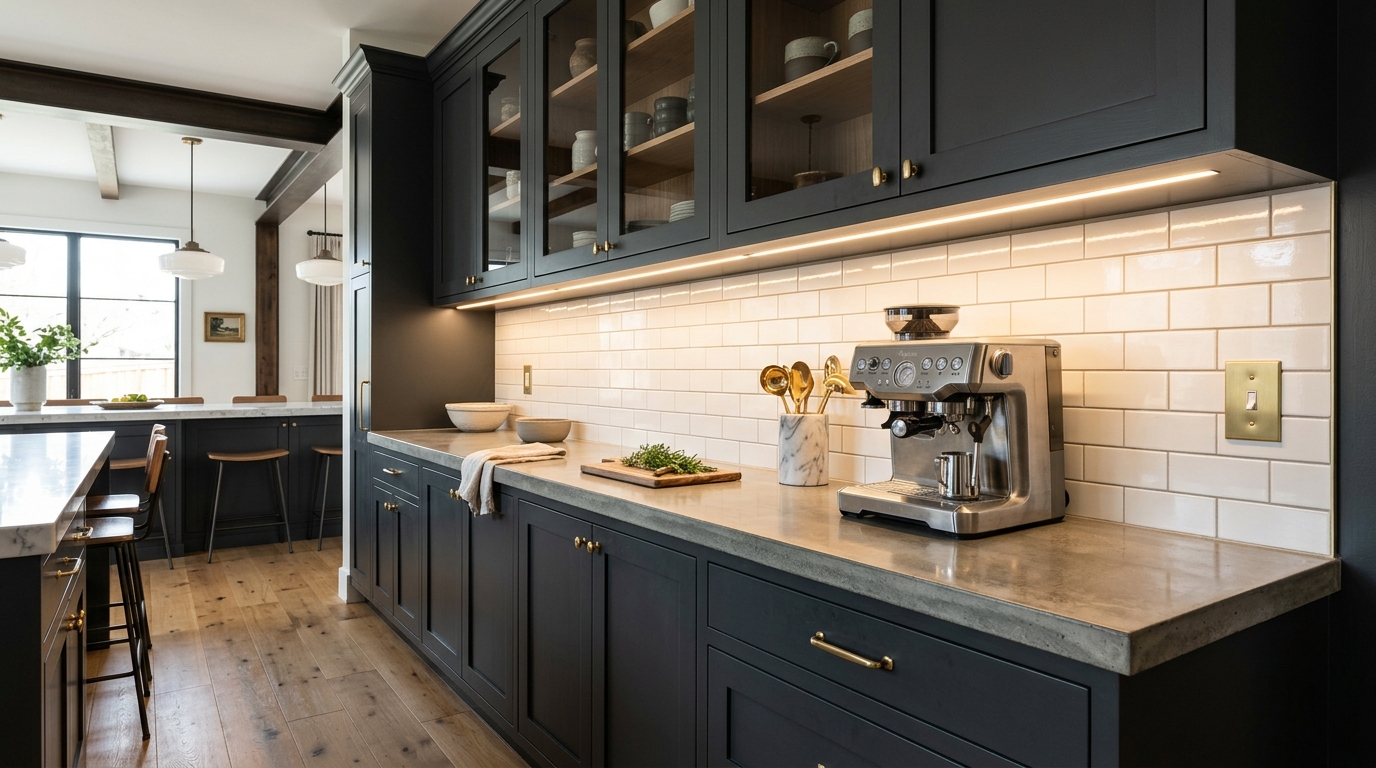
For homeowners undergoing a full kitchen renovation, hardwired linear light bars offer the most durable, professional, and architecturally integrated solution on the market. These rigid aluminum or plastic light bars are permanently wired directly into your home’s main electrical circuit, allowing you to operate all of your under-cabinet lighting from a single, conveniently located wall switch. Hardwired fixtures eliminate the clutter of hanging plug-in cords and the ongoing maintenance of changing dead batteries. When installed along the front lower edge of your cabinetry, these linear bars cast bright, unobstructed beams down onto white backsplash layouts, creating a crisp, clean aesthetic that dramatically increases the appraisal value of your home.
6. Select Warm White 2700K Bulbs to Cozy Up Kitchens
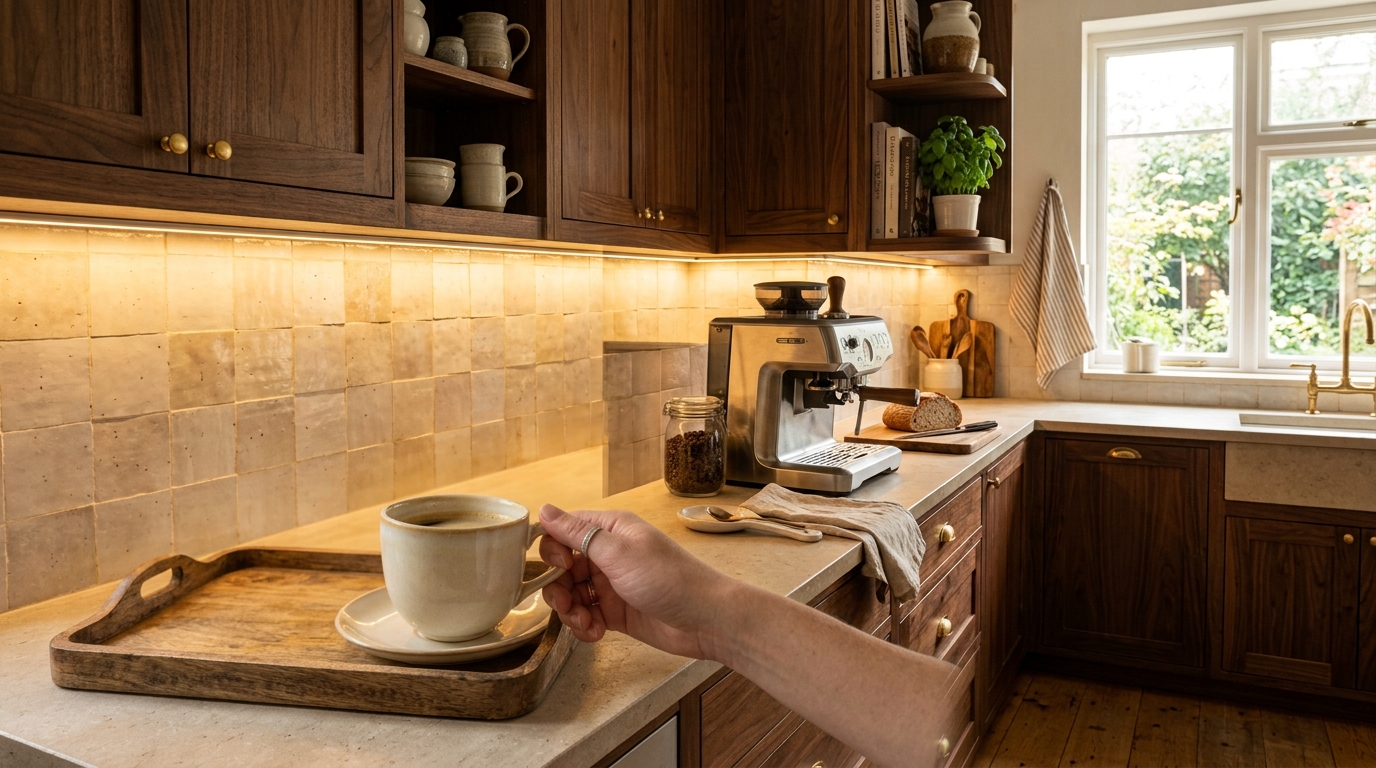
The color temperature of your light bulbs plays a massive role in how warm, inviting, and comfortable your kitchen feels to family and guests. Many homeowners accidentally purchase cool white or daylight bulbs rated at 4000K or 5000K, which casts a harsh, bluish-white glare that makes a residential kitchen look like a clinical hospital laboratory. To achieve a cozy, domestic atmosphere that flatters wooden cabinetry and warm stone countertops, opt for warm white LED bulbs rated between 2700K and 3000K. This Kelvin range emits a gentle, golden glow reminiscent of traditional incandescent bulbs, keeping your kitchen feeling welcoming and relaxing during morning coffee routines and late family dinners.
7. Use High-CRI Lighting to Reveal True Food Colors
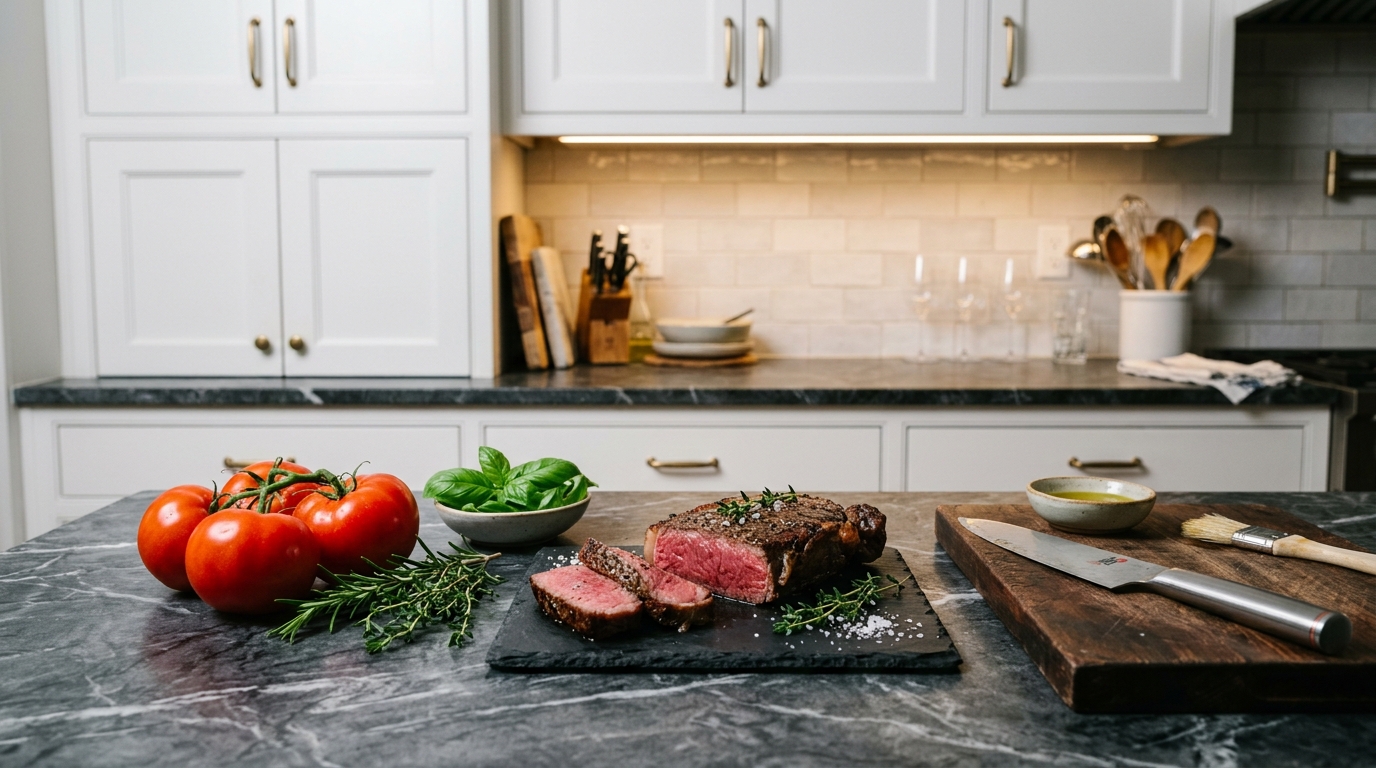
When you are slicing colorful fresh vegetables, checking if a steak is properly seared, or decorating a birthday cake, seeing accurate colors is essential for culinary success. The Color Rendering Index – commonly abbreviated as CRI – measures how accurately a light source reveals the true, natural colors of objects compared to natural sunlight. Cheap LED bulbs with low CRI ratings can make red tomatoes look dull and brown, or cause green herbs to appear washed out and unappetizing. Always look for under-cabinet lighting fixtures featuring a CRI rating of 90 or higher. Investing in high-CRI illumination ensures your food looks vibrant, appealing, and true to life whenever you are cooking or serving meals.
8. Conceal Wiring Inside Custom Light Valances and Trims
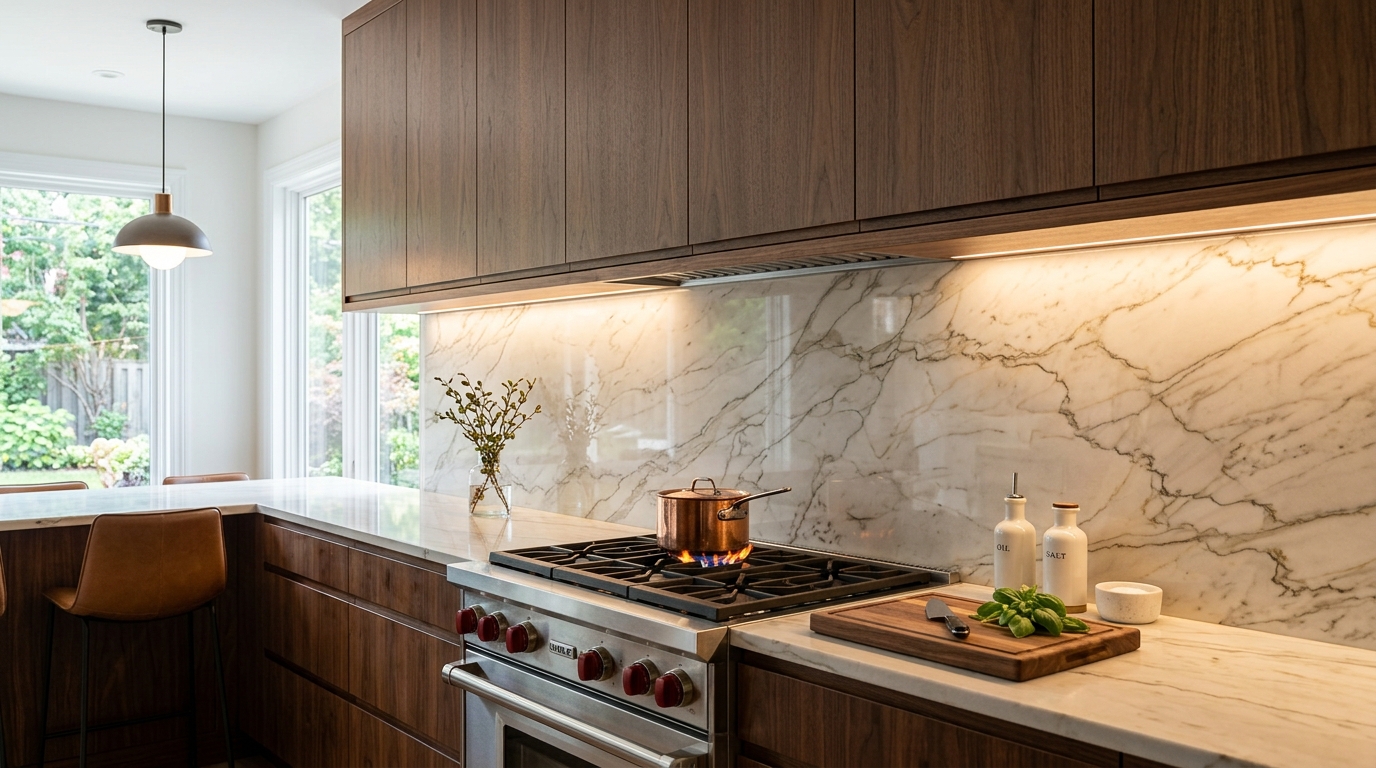
Even the highest-quality task lighting will look sloppy and amateurish if exposed wires, plastic connectors, and power bricks are dangling visibly beneath your upper cabinets. To achieve a clean, high-end look, install a thin wooden light valance or trim piece along the bottom front edge of your upper wall cabinets. This simple wooden molding – often measuring just one to two inches deep – acts as a decorative shield that completely hides your lighting hardware from anyone sitting at the kitchen island or dining table. Coordinating this wooden trim finish with your existing cabinet stain and cabinet hardware finishes ensures your lighting installation looks like an original, custom-built architectural feature.
9. Integrate Tape Lighting Inside Glass-Front Display Cabinets
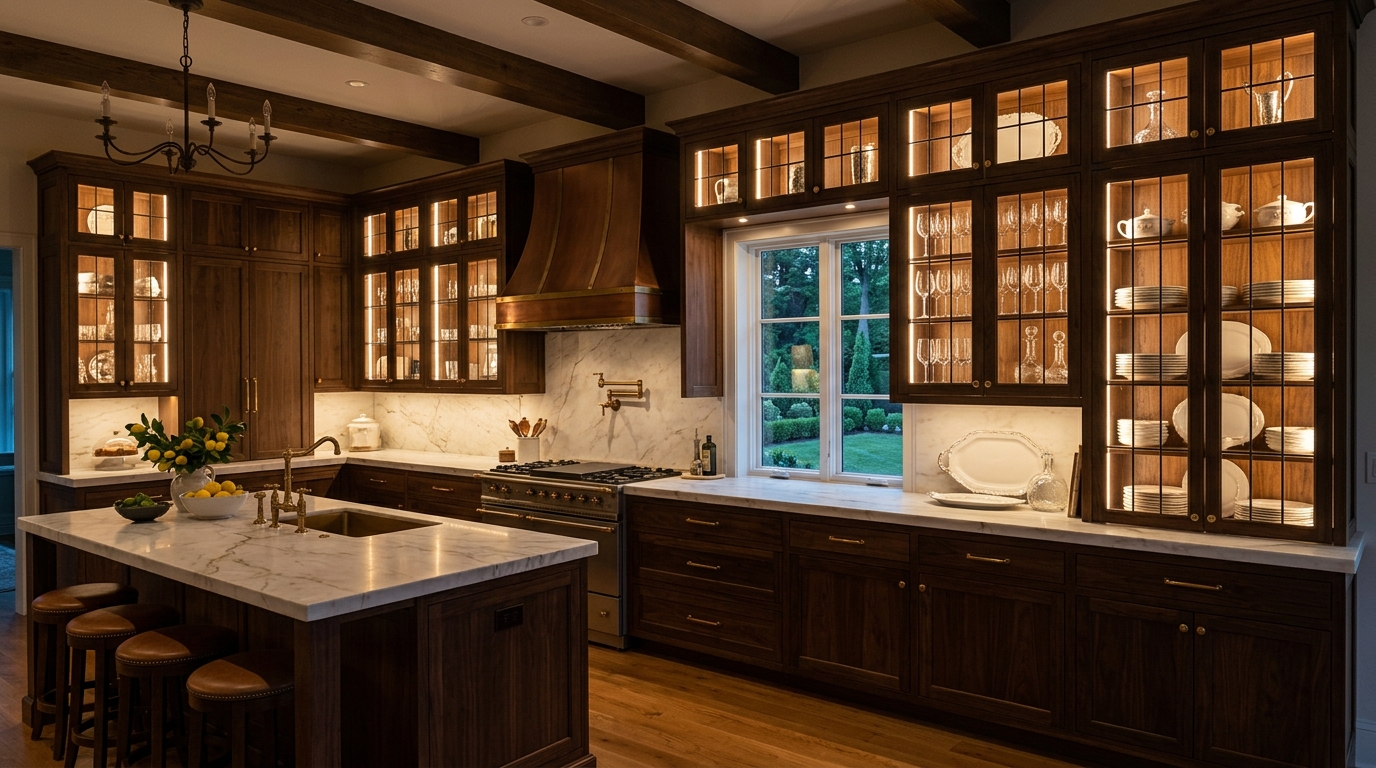
If your kitchen layout features upper cabinets with glass doors, leaving the interior shelves dark wastes a prime opportunity for decorative visual drama. Running thin LED tape lighting up the interior side walls or along the top inside panel of your glass cabinets transforms them into glowing showcase boxes. This internal illumination highlights your favorite stacked dinnerware, crystal wine glasses, and heirloom serving platters, turning functional everyday dishes into a beautiful design feature. Put these interior display lights on a separate switch from your task lighting so you can leave them glowing softly during dinner parties as subtle background ambiance after the cooking mess is cleared away.
10. Place Focused Accent Lights Directly Above Prep Stations
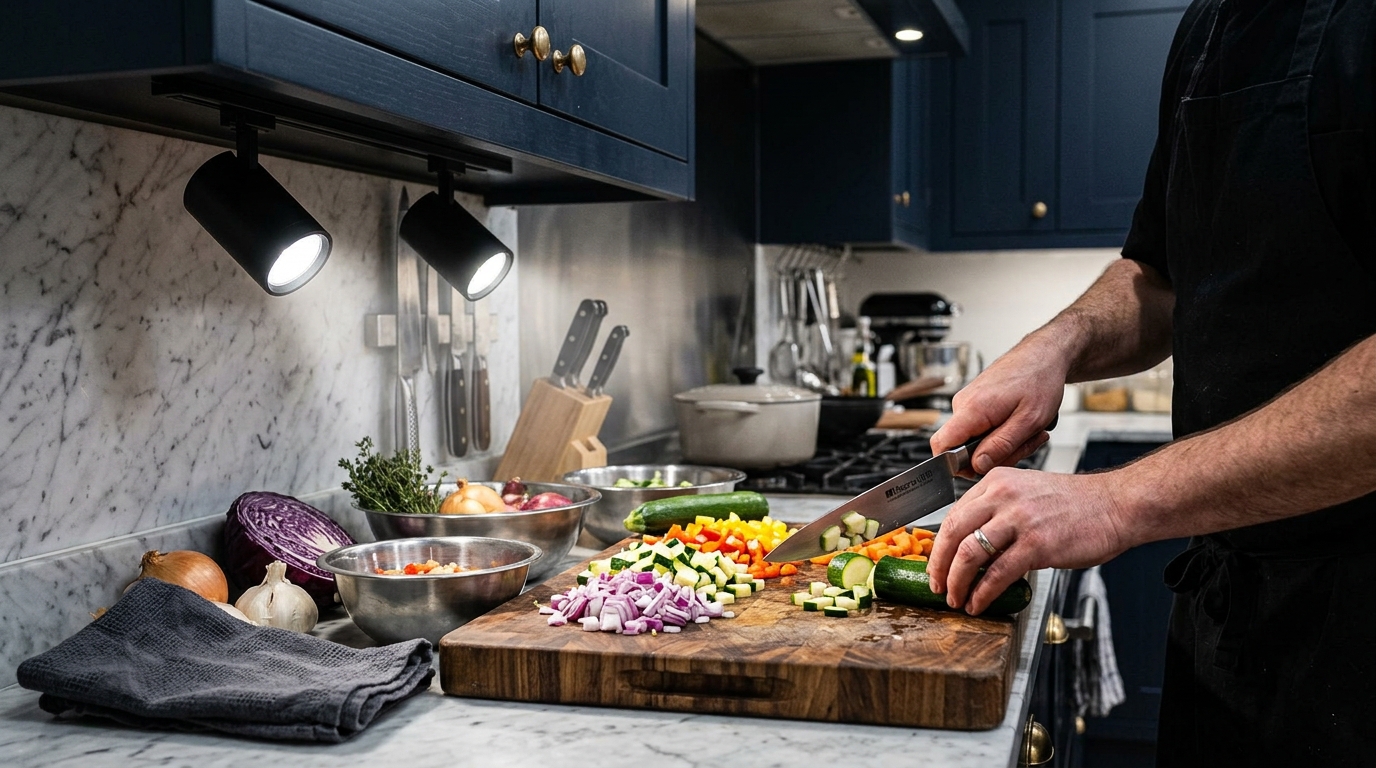
While long runs of continuous lighting are wonderful for general counter coverage, certain high-intensity work zones in your kitchen require extra focused illumination. Your primary vegetable chopping area, the counter space adjacent to your stove, and your baking station all benefit from concentrated accent lighting. Position adjustable spotlight fixtures or high-lumen puck lights directly above these heavy-use prep zones to cut through shadows and improve knife safety. Having dedicated, high-intensity task beams located exactly where you perform detailed culinary work reduces physical posture slouching, preventing neck and back strain caused by bending forward to see what your hands are doing.
11. Utilize Touch-Activated Lighting Bars for Quick Meal Prep
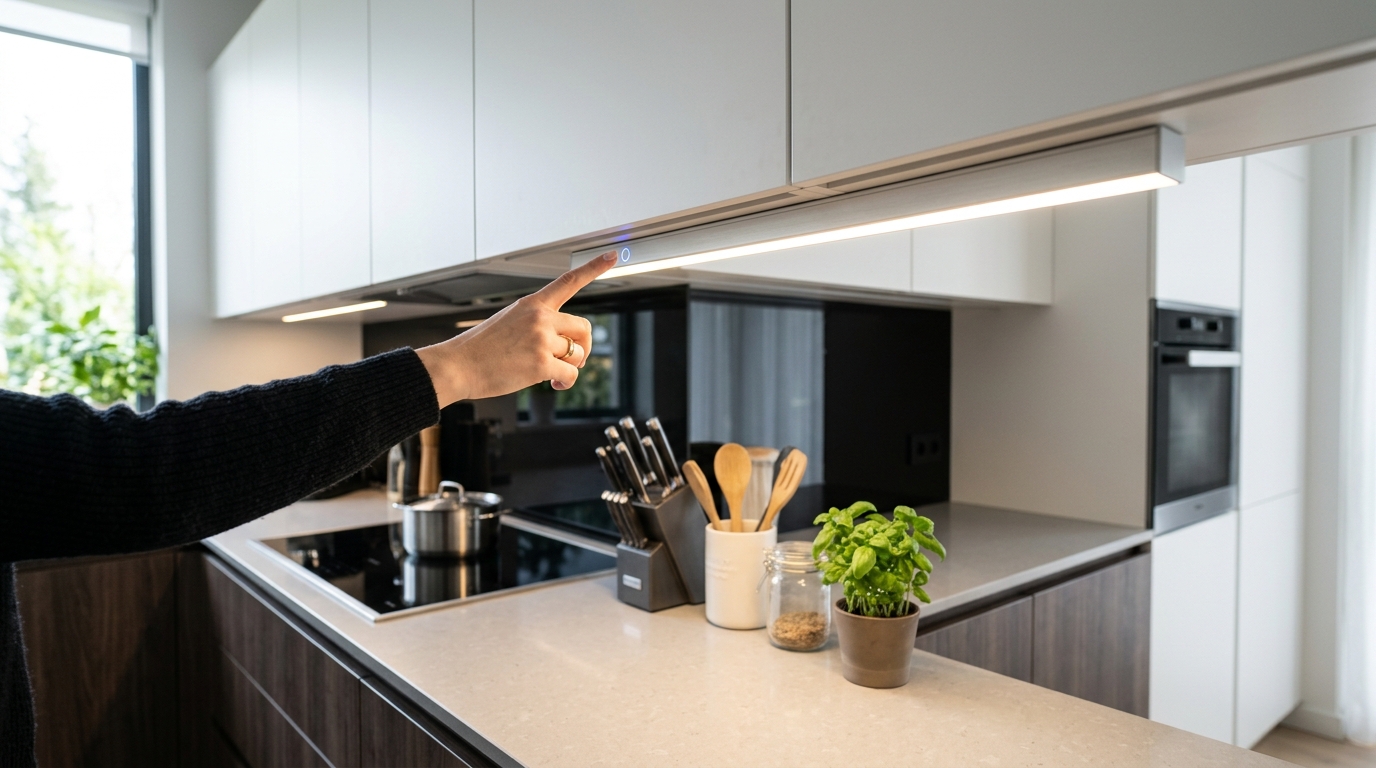
When you want a clean, modern look without installing complicated wall switches or dealing with unreliable motion sensors, touch-activated lighting bars are a brilliant operational choice. These sleek fixtures feature sensitive capacitive touch pads built directly into the aluminum housing of the light bar. A simple tap of your finger anywhere on the fixture turns the light on or off, while holding your finger against the bar activates the smooth dimming function. This tactile control mechanism operates with the same reliable precision found in modern mirror positioning strategies, giving you instant, dependable illumination with a simple touch whenever you step up to your kitchen workspace.
12. Pair Under-Cabinet Glow With Highlighted Backsplash Textures
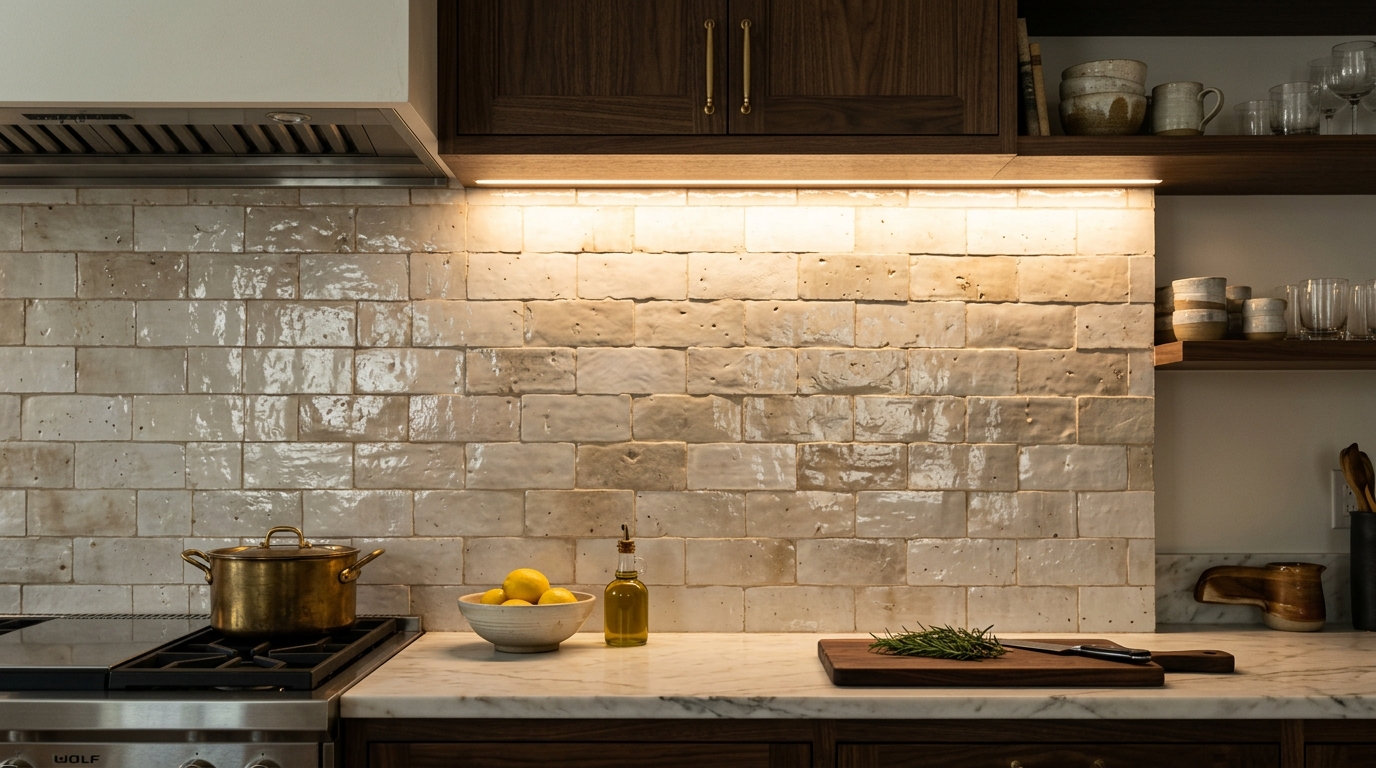
Under-cabinet lighting does not just illuminate your horizontal countertops; it also serves as a powerful wall washer that highlights the architectural materials installed on your backsplash. If you have textured subway tiles, tumbled natural stone, Moroccan zellige tile, or brick veneer installed between your cabinets and counters, placing lights close to the wall surface creates dramatic grazing effects. The downward light beam catches the raised edges, organic imperfections, and glossy glazes of your tiles, creating rich visual depth and shadow play across the wall. This lighting placement turns a plain protective backsplash into an eye-catching, multi-dimensional artistic statement within your kitchen layout.
13. Implement Magnetic Track Lighting Systems for Flexible Positioning
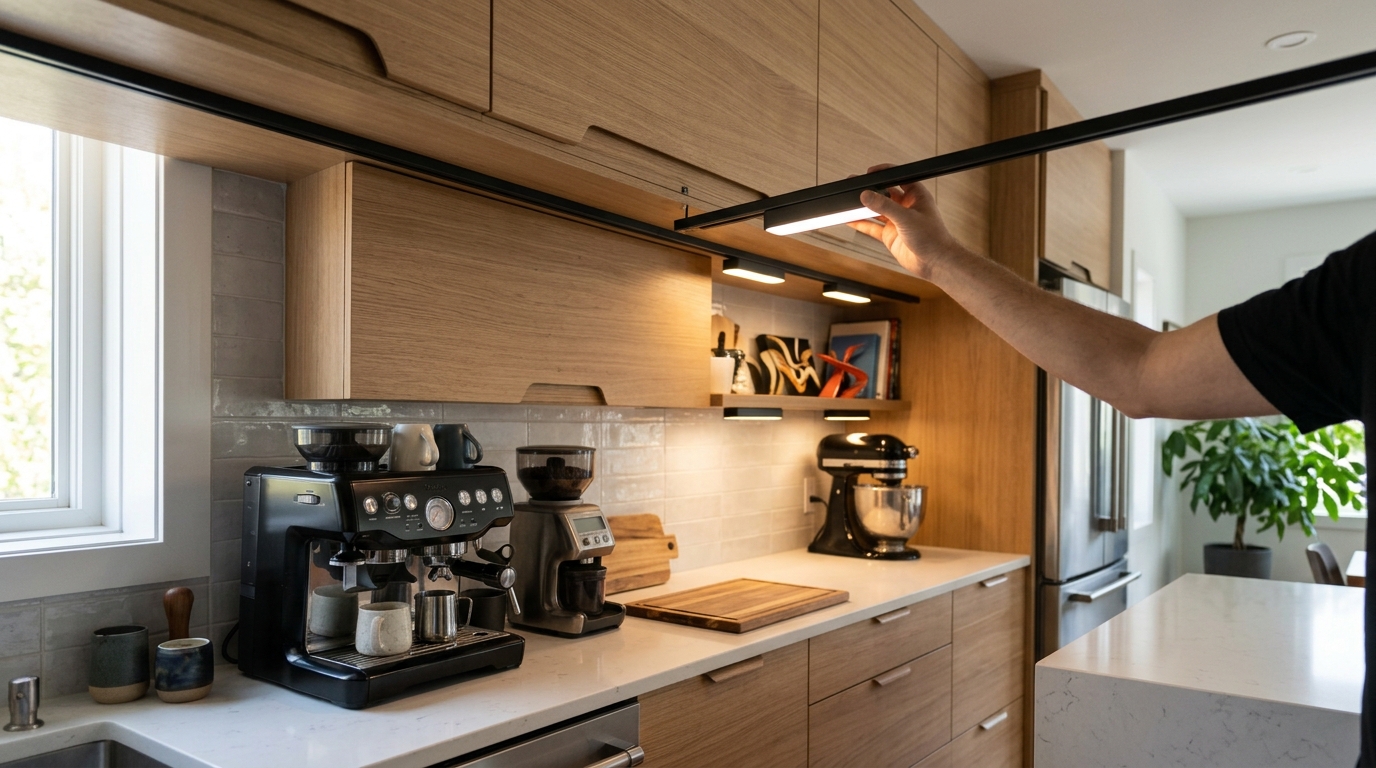
Kitchen layouts and personal cooking habits evolve over time, which means permanent, static light placement might not always serve your daily needs five years down the road. Low-voltage magnetic track lighting systems offer incredible physical flexibility by allowing you to snap individual light modules anywhere along a mounted aluminum track bar. If you decide to move your coffee maker to a different corner of the counter or need extra light over a new mixer, you simply slide the magnetic LED blocks along the track to your desired location. This modular adaptability ensures your task lighting can be customized and reconfigured whenever your countertop appliance arrangement changes.
14. Add Low-Voltage Puck Lights Inside Deep Pantry Shelves
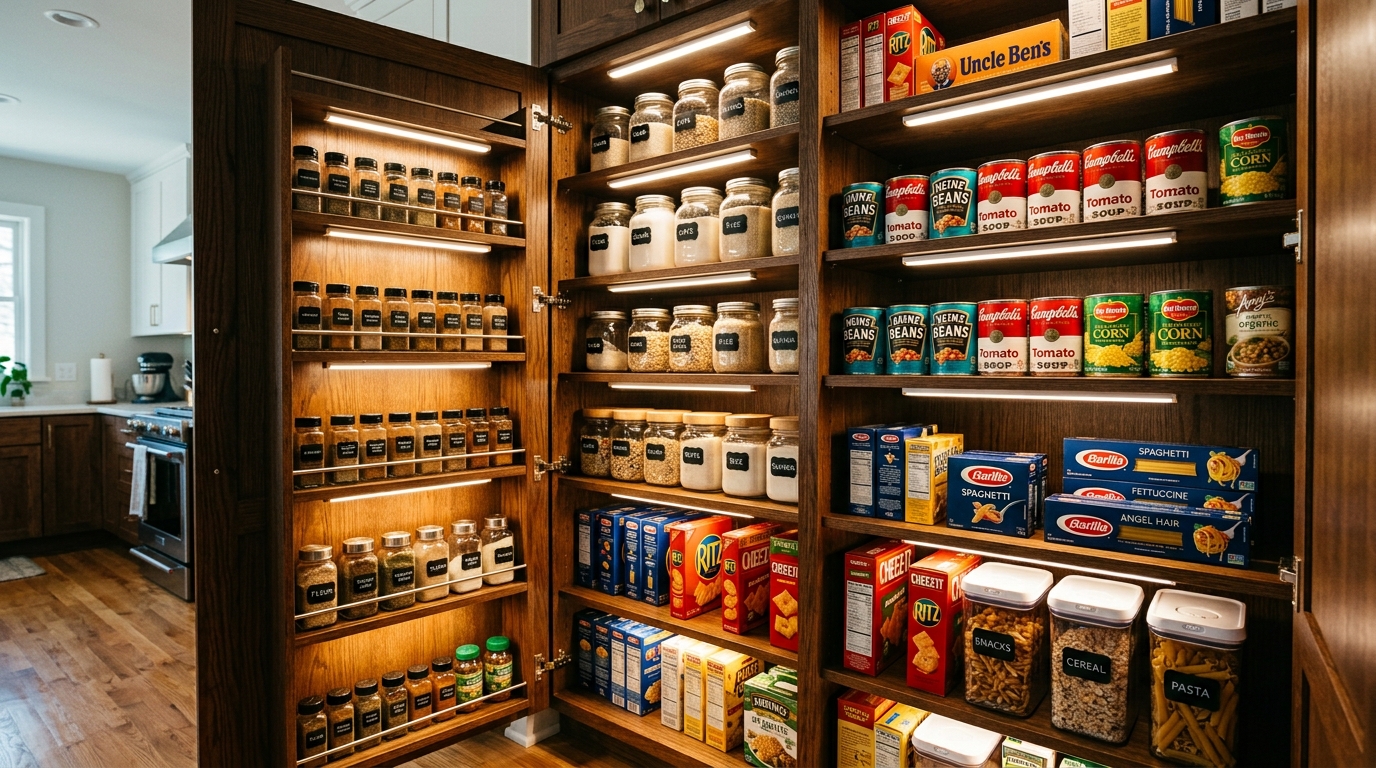
Rummaging through a dark, shadowy kitchen pantry to find a specific jar of spices or a bag of flour is an everyday frustration that task lighting can easily solve. Install low-voltage LED puck lights or motion-activated light bars directly onto the underside of your wooden pantry shelves to illuminate the dark corners of your food storage. This interior shelf lighting ensures every can, box, and storage bin is clearly visible the moment you open the pantry door. Applying the exact same illumination concepts used in custom closet organization, adding dedicated shelf lights makes maintaining an organized, clutter-free kitchen inventory effortless for the whole family.
Tip: When lighting deep pantry shelves, position your fixtures near the front edge of each board pointing backward into the cabinet so the light beam hits the front labels of your cans and jars.
15. Position Task Lights Over the Sink for Dishwashing
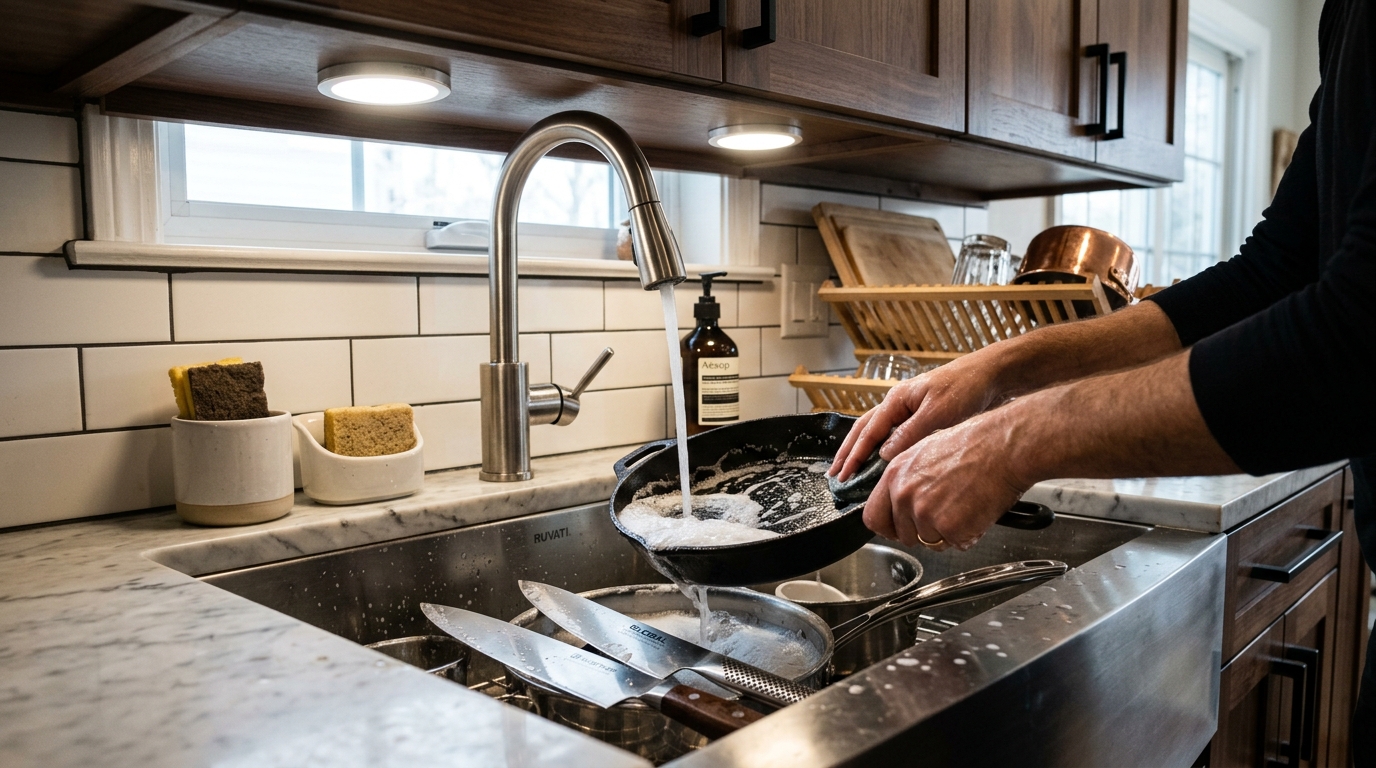
The kitchen sink is one of the most heavily used work zones in the entire house, yet it is frequently left in the shadow of overhead ceiling fixtures. Washing pots, pans, and sharp chef knives after dinner requires bright, direct task illumination positioned directly above the basin to ensure proper cleaning and personal safety. If your sink sits beneath an upper cabinet or a bridging window valance, mount a high-lumen linear light bar or a matching pair of recessed puck lights directly over the water flow. Pairing dedicated sink lighting with luxury sink upgrades turns routine evening dishwashing into a visually comfortable, well-lit daily chore.
16. Connect Fixtures to Smart Home Voice-Controlled Plugs
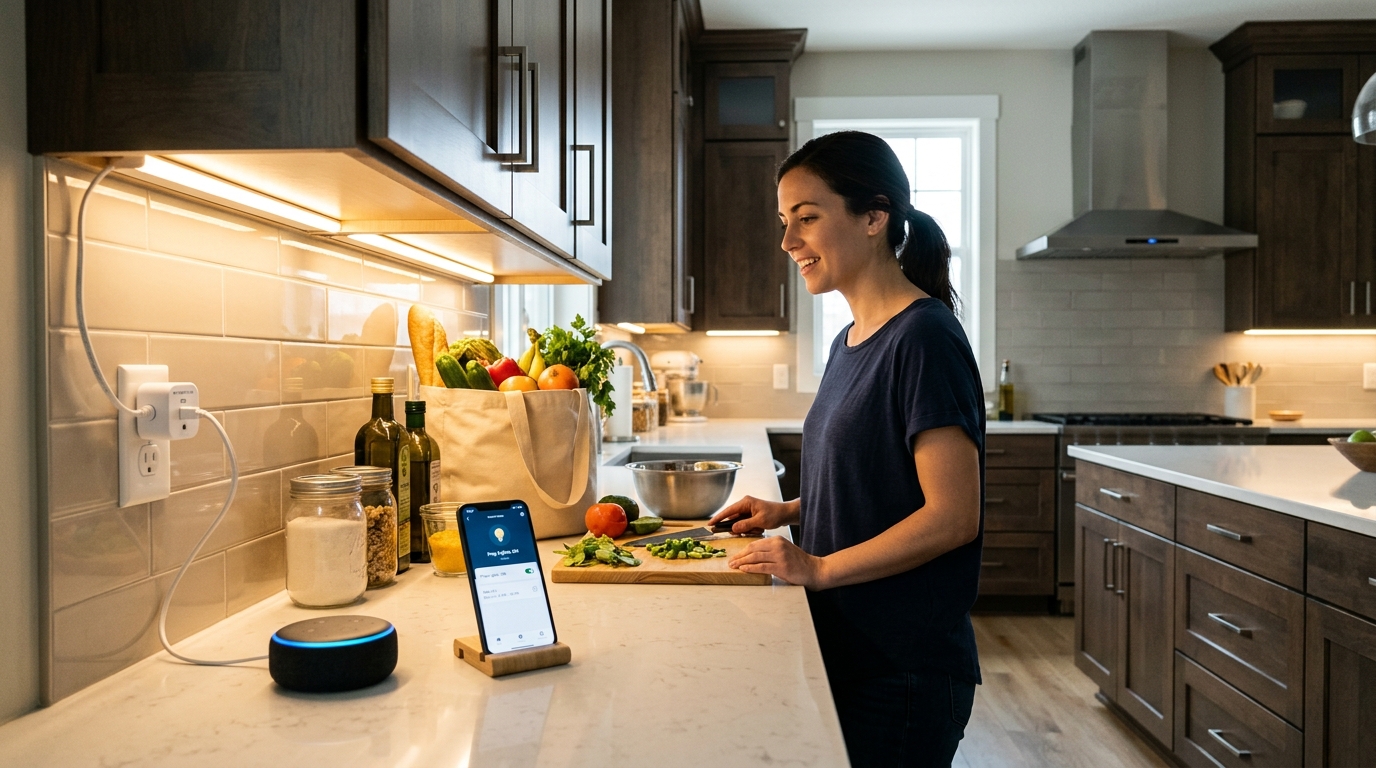
Transforming your basic plug-in under-cabinet lights into a cutting-edge, voice-controlled lighting system is surprisingly simple and inexpensive using smart wi-fi outlet plugs. By plugging your transformer power supply into a smart plug, you can command your kitchen lights to turn on, adjust brightness, or shut off completely using simple voice commands through your favorite smart home assistant. Saying “turn on kitchen prep lights” when you walk into the room with arms full of grocery bags feels incredibly luxurious and practical. You can also program automated schedules in your phone app to turn your under-cabinet glow on at sunset every evening as an automatic security and nightlight feature.
17. Use Reversible USB-Rechargeable Light Bars for Renters
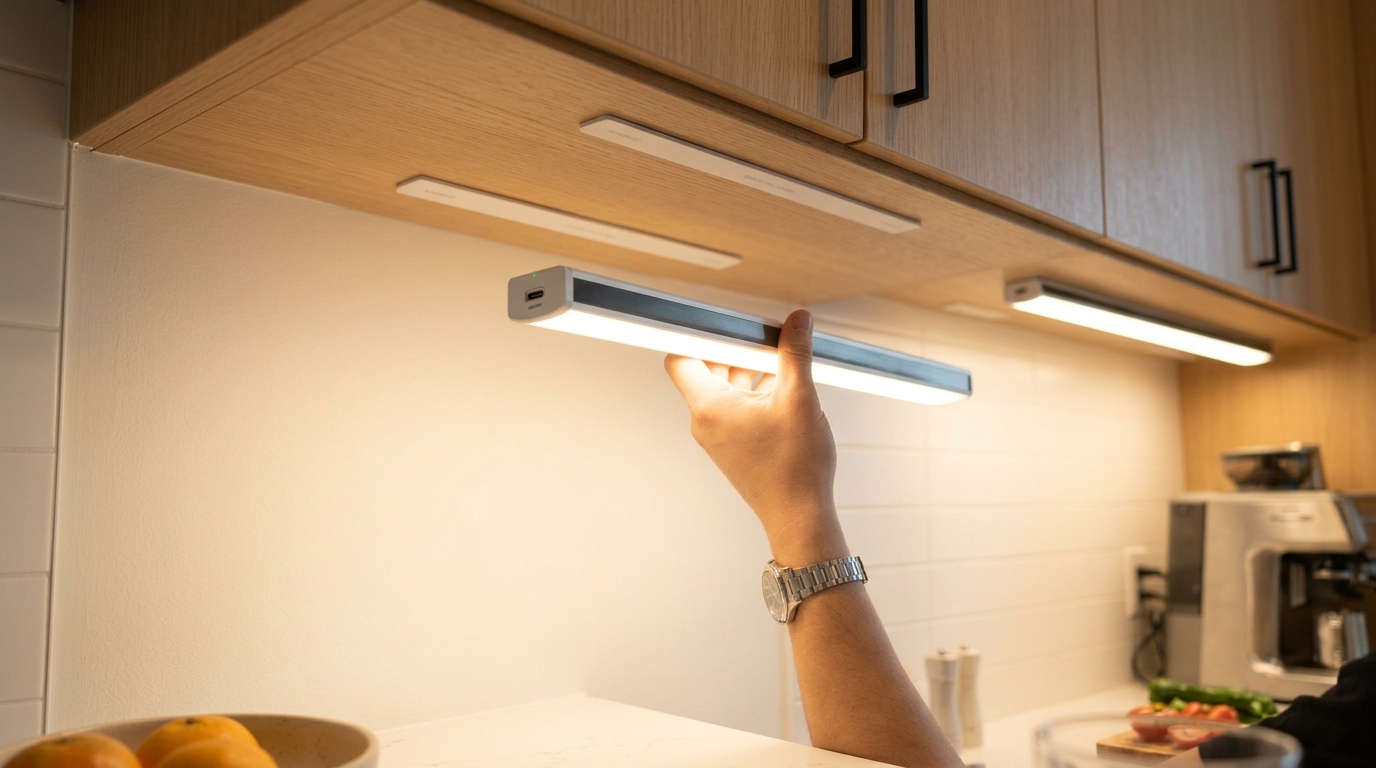
For apartment dwellers who cannot drill holes into cabinetry or install permanent electrical wiring, USB-rechargeable LED light bars offer the ultimate damage-free lighting solution. These clever fixtures attach to your cabinets using adhesive magnetic strips that peel off cleanly without damaging rental paint or wood finishes when you move out. When the internal battery runs low after several weeks of daily use, you simply pull the magnetic bar off the cabinet base and plug it into a standard USB phone charger for a few hours. Utilizing damage-free accessories similar to clever vanity organizers, rechargeable bars deliver high-lumen task lighting without risking your security deposit.
18. Avoid Harsh Surface Glare
One common installation mistake homeowners make with under-cabinet lighting is mounting the fixtures too close to the back wall pointing straight down onto polished granite or quartz countertops. This placement creates intense, mirror-like reflection spots that bounce harsh glare directly back into your eyes while you are chopping food. To avoid annoying surface glare, mount your lighting strips near the front lip of the upper cabinet facing slightly backward toward the backsplash wall. This strategic angle diffuses the light beam across the wall and counter surface simultaneously, eliminating hot spots and creating a soft, comfortable working illumination that is gentle on your eyes.
19. Combine Toe-Kick Lighting With Upper Cabinet Glow
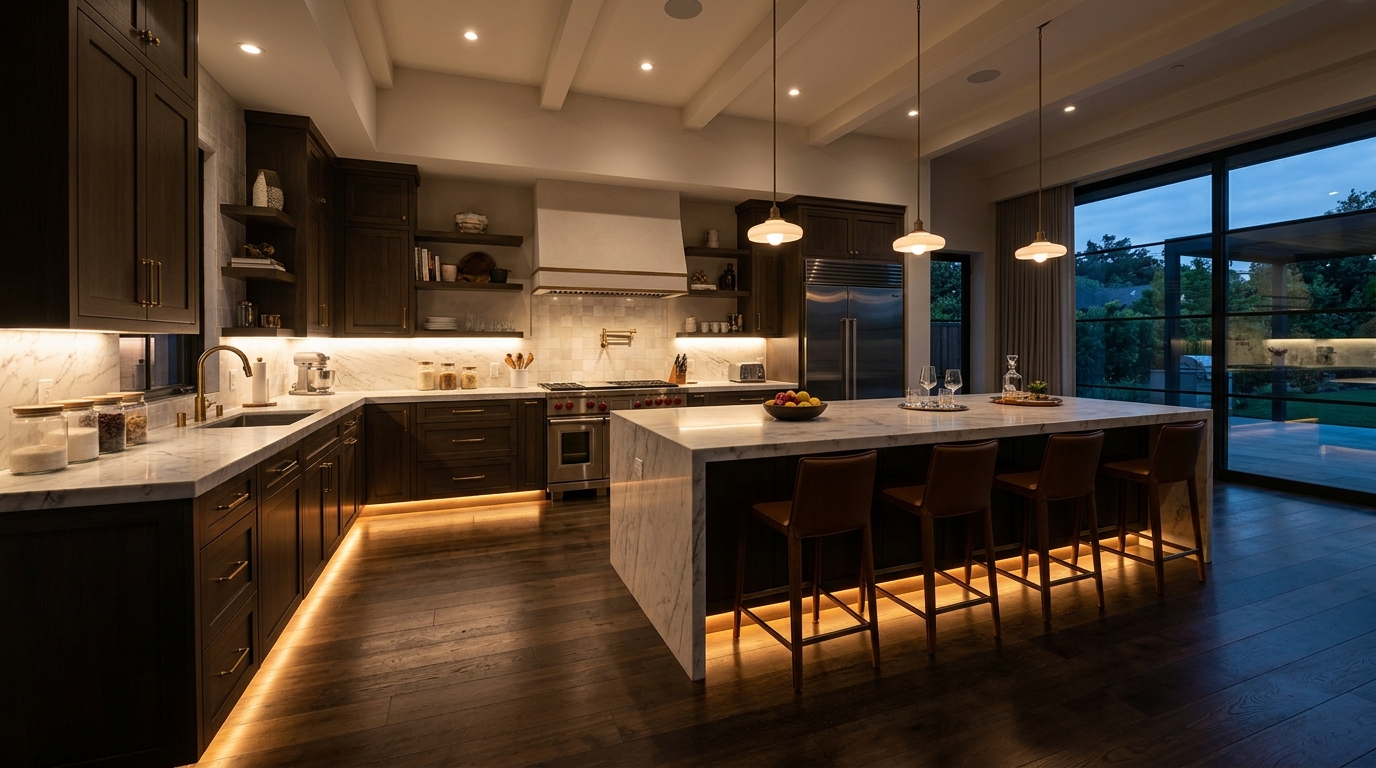
While under-cabinet task lighting illuminates your working countertops, adding secondary toe-kick lighting along the bottom baseboard of your lower cabinets takes your kitchen design to an entirely new level of luxury. Running flexible LED tape lights along the recessed toe-kick area near the floor creates a floating, weightless visual illusion for your kitchen island and perimeter cabinetry. When combined with your upper under-cabinet lights, this two-tiered lighting scheme creates a balanced, wraparound glow that provides safe floor navigation during nighttime hours without waking the entire household. This comprehensive approach mirrors the layered illumination techniques seen in custom shower layouts.
20. Match Fixture Hardware Finishes to Existing Kitchen Accents
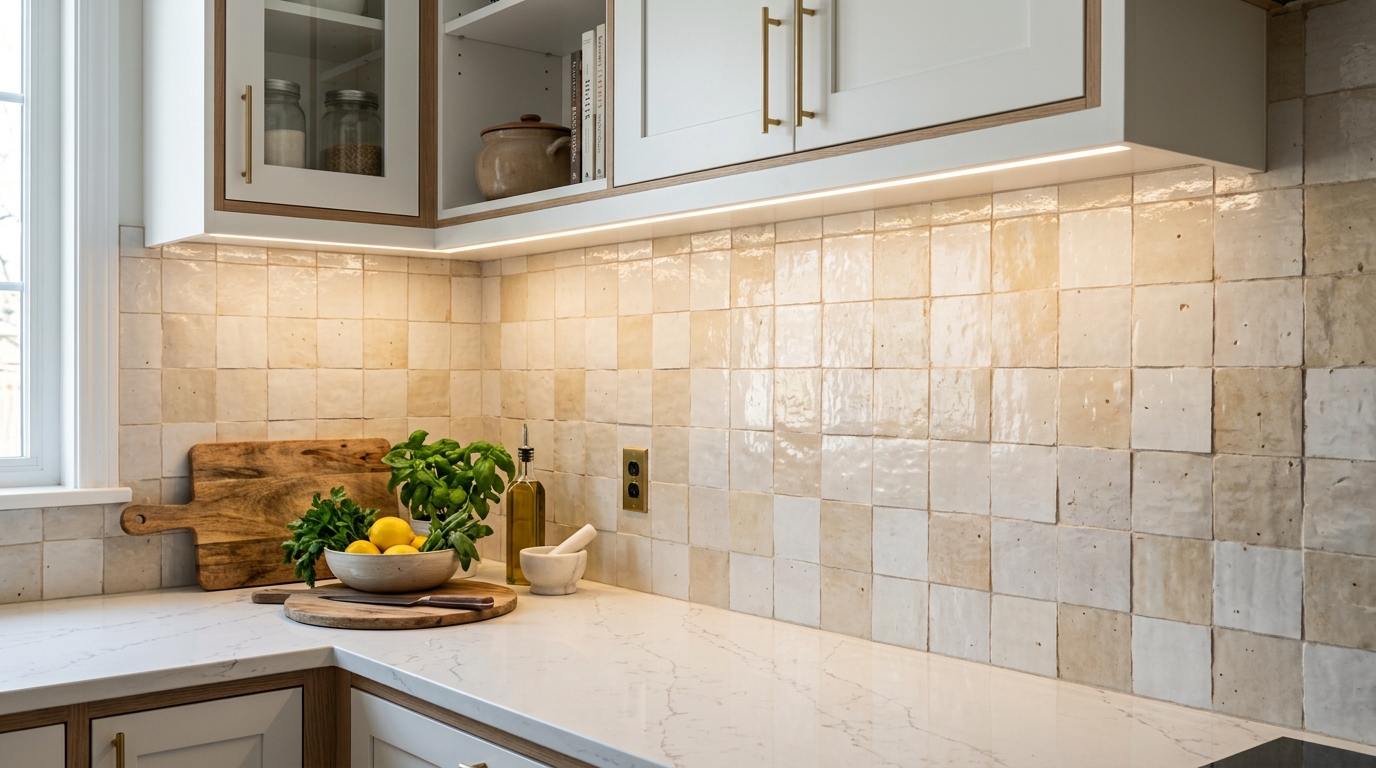
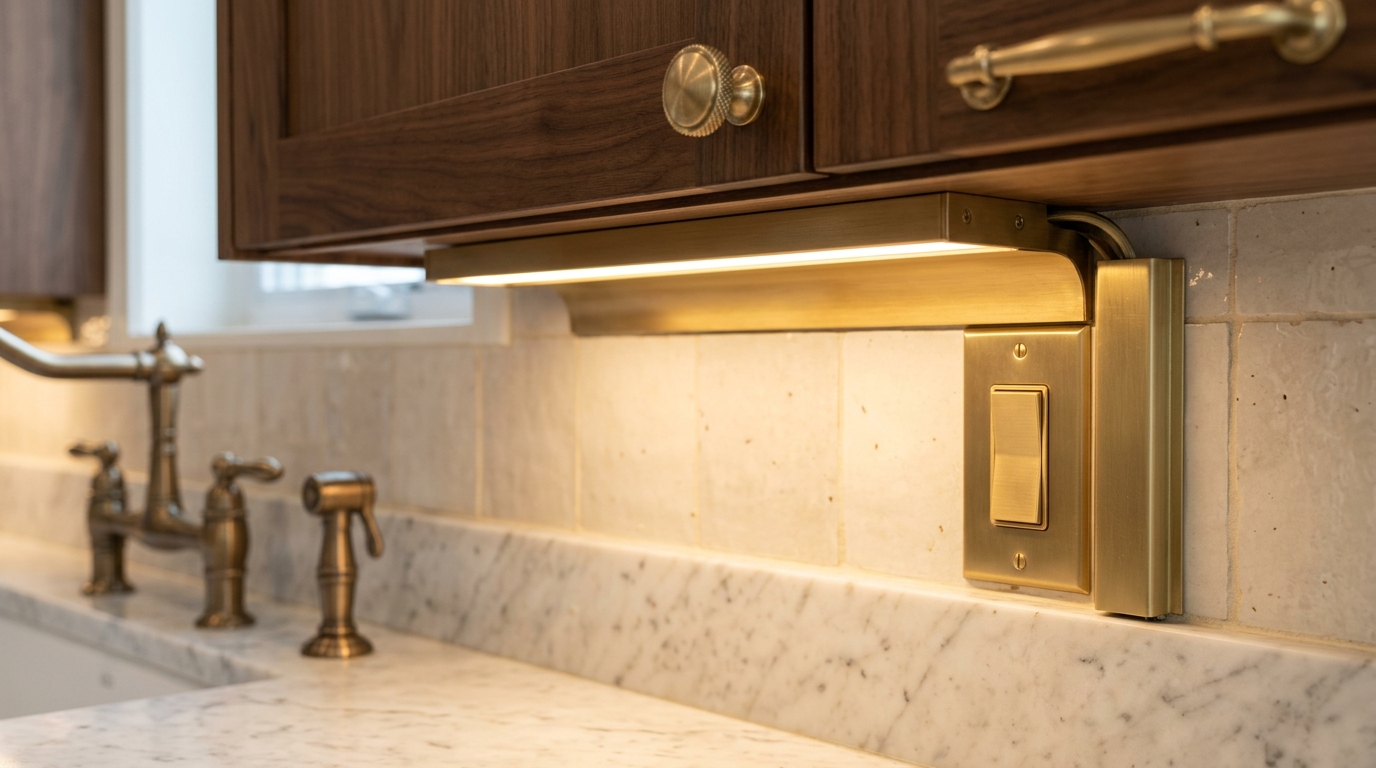
While most under-cabinet lighting strips remain hidden from casual view, any exposed metal housings, switches, or plug-in cords should harmonize seamlessly with your existing kitchen hardware. If your cabinetry features brushed brass knobs and a warm bronze faucet, avoid installing harsh silver or white plastic lighting housings that clash when seen from low sitting angles at the dining table. Select lighting fixtures with metal finishes, cord covers, and trim plates that coordinate directly with your cabinet hardware and appliance finishes. Paying disciplined attention to these small hardware details ensures your new task lighting feels like an authentic, intentional part of your overall kitchen design.
Final Thoughts on Task Lighting
Investing in thoughtful under-cabinet and task lighting is one of the most rewarding upgrades you can make to improve the daily functionality and visual atmosphere of your kitchen. By eliminating shadowy counter spaces with continuous LED strips, utilizing warm 2700K bulbs for hygge comfort, and positioning high-intensity beams directly over your sink and prep zones, you create a workspace that supports culinary creativity. Remember to conceal messy wiring behind simple wood trims and use smart dimmers so you can effortlessly transition from bright cooking routines to relaxing evening entertaining. Take time to evaluate where your shadows fall, choose high-CRI fixtures that reveal true colors, and enjoy cooking in a well-lit, beautifully balanced kitchen.
Frequently Asked Questions
Where should under-cabinet lights be placed under the cabinet?
For the best task illumination and least amount of countertop glare, mount your under-cabinet lighting strips near the front edge of the upper cabinet, just behind the front trim face framing. This placement directs light down onto the center of your working countertop rather than washing out the back wall or bouncing reflective hot spots into your eyes.
What is the best color temperature for kitchen task lighting?
Warm white light rated between 2700K and 3000K is generally considered the best color temperature for residential kitchen lighting. This Kelvin range produces a soft, inviting golden glow that complements skin tones, natural wood cabinetry, and food colors without creating the harsh, blue-white sterile glare associated with cooler 4000K or 5000K daylight bulbs.
How do you hide wires from under-cabinet lighting?
You can easily conceal unsightly wires by installing a thin one- to two-inch wooden light valance trim along the bottom front edge of your upper cabinets to block sightlines. For plug-in cords running down the wall to an outlet, use paintable plastic cord cover raceways attached to the underside of the cabinet or along the edge of your backsplash tile.
Are puck lights or strip lights better for under kitchen cabinets?
Linear LED strip lights are typically better for general countertop task illumination because they cast a smooth, continuous wash of light across the entire working surface without dark spots. Puck lights are better suited for accent lighting inside glass-front display cabinets or for highlighting specific architectural features where a pooled, dramatic spotlight effect is desired.
We would love to help you continue illuminating and decorating every single room in your house with professional confidence – head over to our main blog for more practical home styling and expert decorating inspiration. Make sure to bookmark this guide, share it with a friend who is remodeling their kitchen, and start building the well-lit, beautifully functional culinary space you deserve today!